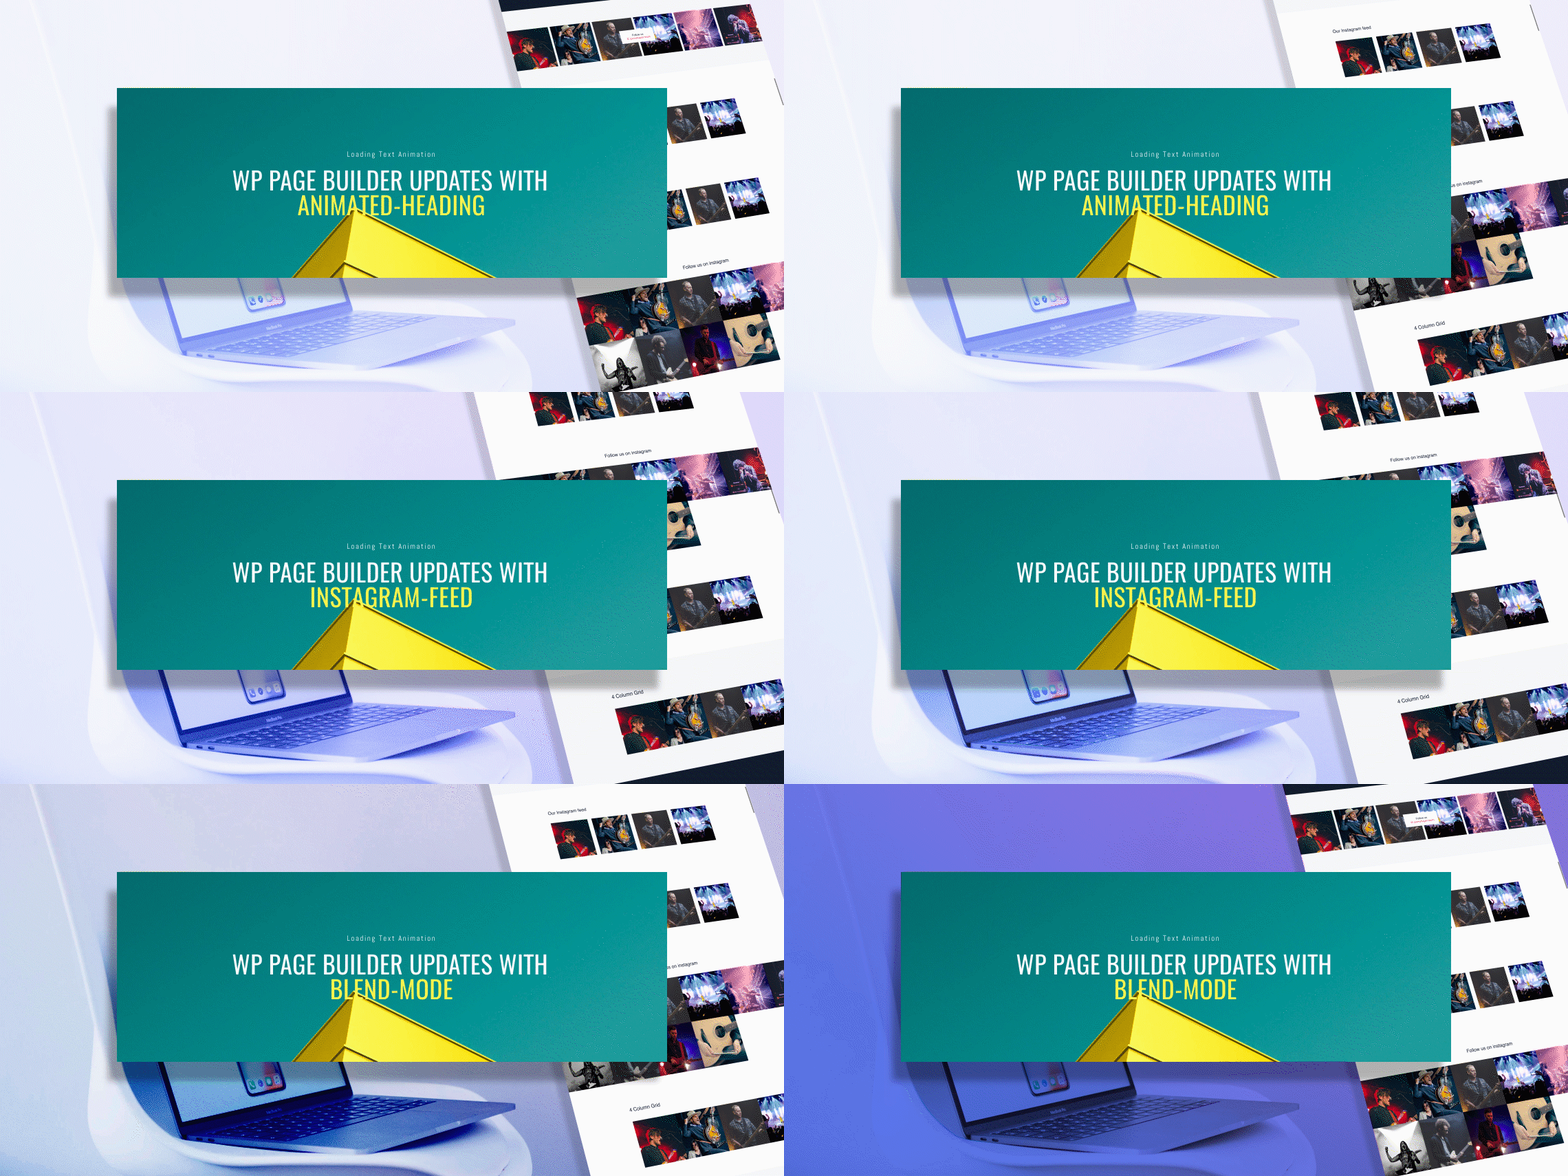
What’s the best news you’ve heard today? Let us tell you: it’s the new WP Page Builder update news. You won’t believe the tonnes of awesome additions we’ve brought with this update!
This WP Page Builder update brings so many changes that you’d be stunned. In this update we focused on each and every aspect that is needed to make your website complete. You get two amazing addons: Animated Heading and Instagram. Add with that the awesome visuals you’ll get with the new Blend Mode feature. Finally, to top it all off you’ve got “Hosting”- a completely new layout! Then there’s also the shape feature and text decoration added to typography. Best update yet, right?
Let’s take a deeper look on all the functionalities you get with this new update of WP Page builder.
Are you ready to take your visuals to the next level? Never have a boring heading with this new addon in WP Page Builder pro.
There are two functions you can achieve with this addon:
1. Text Animation
2. Highlighted Animation
If you’re wondering how to use this addon, it’s super easy. All you’ve to do is drag & drop the addon like all the other 30+ addons in WP Page Builder.
Select any place where you want to put your heading or title and place the addon there. You can easily outline or highlight the text that you want on your heading. The addon gives you a multitude of options with it’s 12 Text Animations and 12 Heading Animations. The visual end editor of WP Page Builder lets you see which animation would look the best on your website.
Text Animation
One of the easiest way to grab the attention of your website visitors is a great heading. The text animation is a sure shot way to make your heading pop.
You can apply text animation easily using these simple steps:
1. Drag & Drop to place the animated addon.
2. Enter the text you want to animate in the Shortcode text box area.
3. Choose text animation type.
4. Pick your preferred style preferences from style settings (Color, Heading Typography, margin, padding, etc.)

You can include your desired shortcode in the given text area as well to take customization further. There’s an option for “Animated/Highlighted Before Text” where you enter the texts you want to put before the Animation text.
Animated Heading Preview
Highlighted Animation
Highlights are a great way to engage your audience with the information that you really want to convey to them. However, adding animation makes your headings look even better and so trendy. No one wants the mundane headings anymore and the highlighting animation is made just for that reason.

With the highlighting animation you can showcase your keywords with a number of different shapes such as circles, squares, lines and so much more! You can use the Highlight animation just like the text animation by following these simple steps:
1. Drag & Drop to place the animated addon.
2. Put the words you want to animate in “Highlighted Text” box area
3. Choose highlighting shape.
4. Pick your preferred customization settings such as Highlighted Color, Shape Width, Enable/Disable Shape Round and so much more.
5. Choose your style settings for a unique look.

You can enter the texts before and after the highlighted animation text in the text area box for “Animated/Highlighted Before Text” and “Animated/Highlighted After Text” respectively. There are a lot of style options here. You can choose Heading Color, Highlighted Typography and so much more!
Along with all these unique settings you also get the global Advanced settings which you get for all addons.
Highlight Live Preview
Do you want to get more followers on your official Instagram account from your website without the hassle of including obscure links or just a logo? The Instagram addon lets you do exactly that within a few minutes. You can have a part of your website completely dedicated to this Instagram addon in WP Page Builder pro.
The Instagram addon is filled with so many features and even more options to customize. Best part is they are all so easy to use. Let’s look at all the amazing features in this addon and how to use it!
1.Drag & Drop the Instagram addon to your desired row.
2. Go to the General Settings.

Here you will find some options to configure and decide how you want the Instagram section of your page to look like in your website.
You can enter Images in two ways: Username or Hashtags. You can use popular hashtags to set a trend in your website by using the hashtag option. If you only want images from a certain Instagram account then just enter the user ID.
Enter your Instagram User ID.
Note: An Instagram User ID is used to get Instagram numeric ID by username. This ID is needed to retrieve Instagram information and you can find your Instagram User ID just by clicking this link. (The link is also available with the addon)
Put your Instagram Access Token.
Note: Instagram Access Token will allow your website to get access from your Instagram account and display feeds in a secure way from the Instagram servers. You can generate an Instagram Access token right from this link. (The link is also available in the addon)
You get a lot of other options as well such as to select the number of items you want to display in your website. There is also the option to enable likes, comments and texts from Instagram account as well as text limit option.
There are two layout style options with the Instagram addon: Default and Image overlay. Choose the variation that goes with your site the most. Along with customizing dimensions, you also get to choose the preferred image size. Enable Profile Info and Follow Info to get all or specific information from your Instagram account to be displayed in your website.
3. Choose your Preferred Style Settings. Here you get to select Text Color, Typography, Like/Comment Typography, Icon Customizations, and Content Wrap settings.

Finally to finish it all off, you have the global settings in the Advanced Settings tab to give a complete look to your WordPress site.
Instagram Live Preview
Want to make stunning visuals for your website without any design skills? WP Page Builder has got you covered! Once you discover the capabilities you reach with blend modes we have, your need for Photoshop will be much less.
The new blend mode includes 13 options:
To set a blend mode, just follow these simple steps:
1. Click on Row Settings.
2. Go the Style option and Select Overlay.
3. Set your overlay Image or Background color. You can select the Image position, Image Size and Opacity.
4. Select the Blend Mode from the dropdown menu.

You can combine so many options to create the most unique option. In the image below, we have two superimposed images. The athlete in the running motion is our fixed background and the overlay image of the woods is set on top of the background using the Screen mode. You can then set the Opacity of the overlay according to preference.
Remember how we said this is going to be the best update yet?
Along with all these cool features, this update brings the most clean, speedy and organized layout called “Hosting”. Like all our industry oriented layouts, this layout is oriented towards hosting companies. You can get the complete layout pack in the pro version of WP Page Builder.

There are 5 pages you can fully customize in this layout, check them out right here:
1. Home
2. Pricing Plan
3. Package
4. FAQs
5. Contact
You can display a lot of options:
All our Layouts are built with the recent market trends in mind so that your website does not appear to be outdated whatsoever.
If you were wondering that there’s nothing more we can do to enrich your visuals even further, think again!
Our WordPress team has integrated the “Shape” feature in the row settings. You get a staggering 17 different shapes to include in your rows. Another awesome part is that you can include these shapes for both top and bottom of the row.
The 17 shapes that we have included are as follows:
To go to the shape option, just click on the Row Settings icon. Open the Style tab and at the bottom you’ll see the shape dropdown menu. You can then just enable/disable shapes for the top and bottom of the row as you please.

There are a lot of customization options included with this shape feature.
This huge array of options lets you add different shapes on each row or you can simply create one that you like and keep duplicating it across all the rows in your website.
One of our most popular addons is the Carousel Addon where you can easily display you site features lucratively with animation. Due to popular demand we’ve included another customization to this addon: Animated Speed.

The Text decoration is a new feature added in with all typography sections of addons in WP Page Builder.
The text decorations include a number of options such as: Inherit, Underline, Overline and so much more!
To access the Text Decoration option:

New: Animated Heading addon (pro)
New: Instagram Addon (pro)
New: Hosting Layout (pro)
New: CSS Blend Mode
New: Multiple shape, top bottom position and new shape added
New: Underlining added on typography field type
New: Text Decoration added on Typography field type
Fix: Background2 field removed totally
Fix: Slider navigation issue
Fix: Letter spacing negative added
Fix: Table addons hover CSS issue
Fix: GeneratePress theme support
Others: Minor Bug Fixes
You need the absolute best for your website! Whether it’s the visuals or social media presence or just a simple text, WP Page Builder is here to make sure that you get only the highest quality features when building your website. Moreover, we fixed the bug issues so that you have a smooth building experience with WP Page Builder. We are always here to listen to your feedback on your updates, so please feel free to share any ideas and suggestion in the comment below.
Get WP Page Builder Live Preview Try Demo
