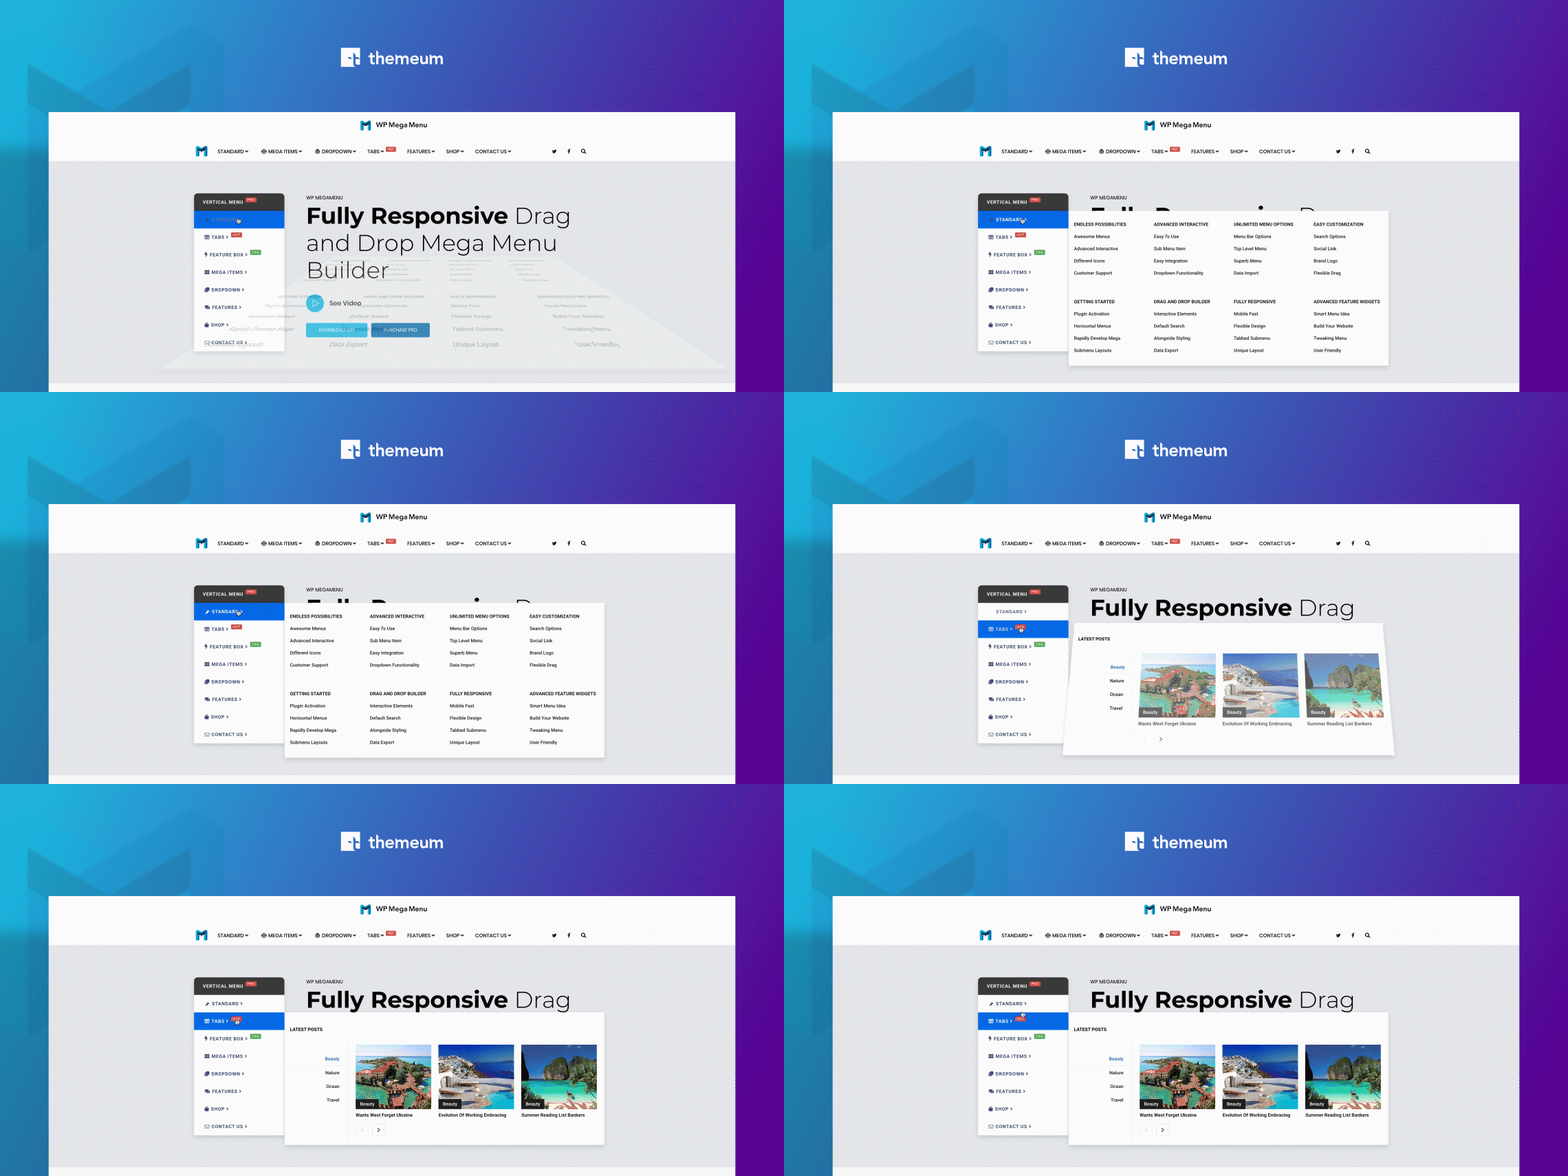
Your menu is the first thing that people see on your website… literally! Want to make it more lively & stand out? Add animation to your mega menu. It’s really easy to add WordPress menu animation.
Your menus are like roadmaps to your entire site. When people look for something, the first thing they will go to is the menu.
Why?
Obviously, when you visit an unknown place, maps lead you to your destination. Similarly, people rely on your menu to get where they want to go. It’s through your menu that you can reel users in or make them lose interest.
That’s where adding WordPress menu animation saves the day.
Animations have stuck around for a while now. However, over the years better browsers and mobile processors, are making menu animation increasingly popular.
The reason why WordPress menu animation is important is that they enhance user interaction and improve interface clarity.
Moreover, WordPress menu animation established user focus. It attracts users instantaneously by grasping their attention.
When you want to clearly define information within your menu then WordPress menu animation is a must. For example, when creating hamburger menus or submenus to reveal hidden elements, animation helps users know where the information is coming from.
All in all, creating focus and drawing attention is the major reason to start including WordPress menu animation.
Now that you know the why on using WordPress menu animation, let’s go to the how.
You might think this might be challenging, especially if you’re a WordPress beginner. However, the 3 steps that we’re going to reveal today are so easy that you’ll want to add WordPress menu animation to every menu!
Let’s jump right in!
The sure shot way to get WordPress menu animation right is installing a WordPress menu plugin. When it comes to menu plugins, WP Mega Menu is one of the best out there.
Throughout this article, we’ll see how you can explore WordPress menu animation creatively with this WordPress menu plugin.
The first order of business here is to install WP Mega Menu. If you’ve installed plugins before, then this step should be beyond easy for you.
There are two versions of WP Mega Menu- Free and Pro.
To download the free version of this WordPress menu plugin:
To install the Pro version of this WordPress menu plugin, at first download the Pro version from the Themeum site. Then:
Note: To use the Pro version of WP Mega Menu, you need to install the free version of this WordPress menu plugin first.
Choose the downloaded plugin package (the zipped file), and click the Install Now button.
The plugin will be installed. Activate the plugin on the next screen.
So you’ve successfully installed and activated the WP Mega Menu plugin. After that, you need to enter the license key.
Navigate to WP Mega Menu > License Page.
When you’re redirected to the License Page, just enter your license key and Click on “Connect with License Key”.
You’re one step closer to creating your WordPress menu animation.
Now, this is your time to start creating your menu. The menu is completely your own vision.
Add everything that you want to include in your menu. There are some tips that can get you the menu that users will enjoy.
Here are some of the tips that we think will give you a great WordPress menu animation.
There are many other tips that you can follow too, but these will give your users an awesome experience as well.
Pro Tip: Build your menu first then add the animation style that works best. If you already have an animation style in mind, build your menu around it.
Watch this detailed video on how to create a menu with WP Mega Menu.


