It is not just about having a website and people start reading it. Building a successful blog or website is something beyond. Something that requires you to research on your contents and makes them visible in search. Quality contents with relevant titles and keywords increase the chance of more traffic to your site. This whole process is called Search Engine Optimization. It is essential to consider SEO facts while writing any content online.What if a particular plugin does this job for you. When it comes to SEO of your WordPress site, no plugin does it better than Yoast SEO plugin. Its scintillating features can take care of almost every single SEO issue.
When it comes to choosing a WordPress SEO plugin, there are plenty of options to choose from. Before we dive into its integration, let us discuss why exactly one should choose this particular one.
NB: The premium version offers more of such features along with multiple focus keywords, Video SEO, News SEO etc.
Installing Yoast SEO is just like all other regular plugin installations. You can either download it from the WordPress plugin directory and upload the zip file (via the Plugins menu) then install and activate the plugin manually. You can also install it by searching ‘Yoast SEO’ in the ‘add new plugin’ page of the dashboard.
Once you have installed and activated your Yoast SEO plugin, you will find SEO menu item in the Dashboard. You need to click on that to go to the Yoast Dashboard.

First of all, you have to configure Yoast plugin. You will find different menu items on the Yoast Dashboard. Open the General tab, then open the configuration wizard.

After opening the configuration wizard, you have to give different information regarding your website along with the way from one to ten different windows. These windows include setting up the Environment, Site type, Company or Person, Social Profiles, Post Types Visibility, Multiple Authors, Google Search Console and Title Settings.
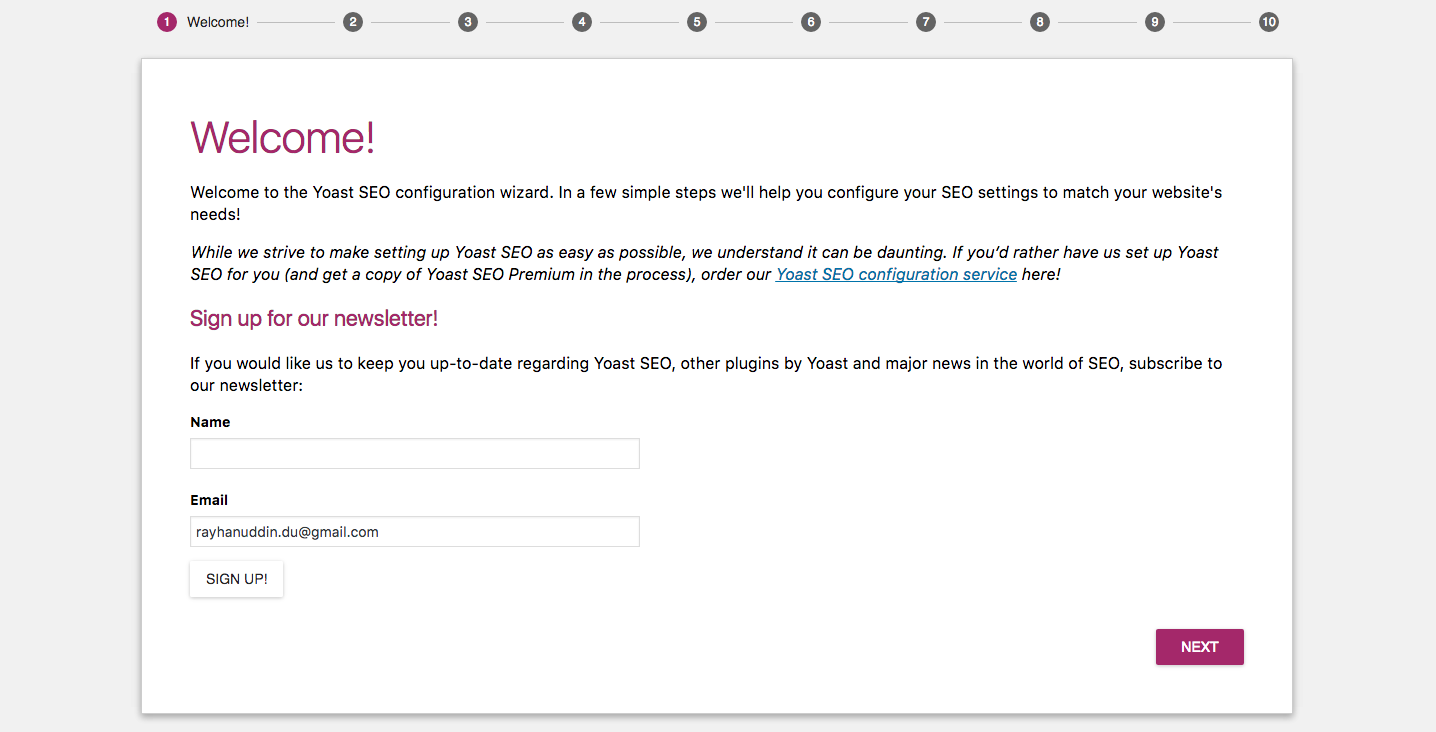
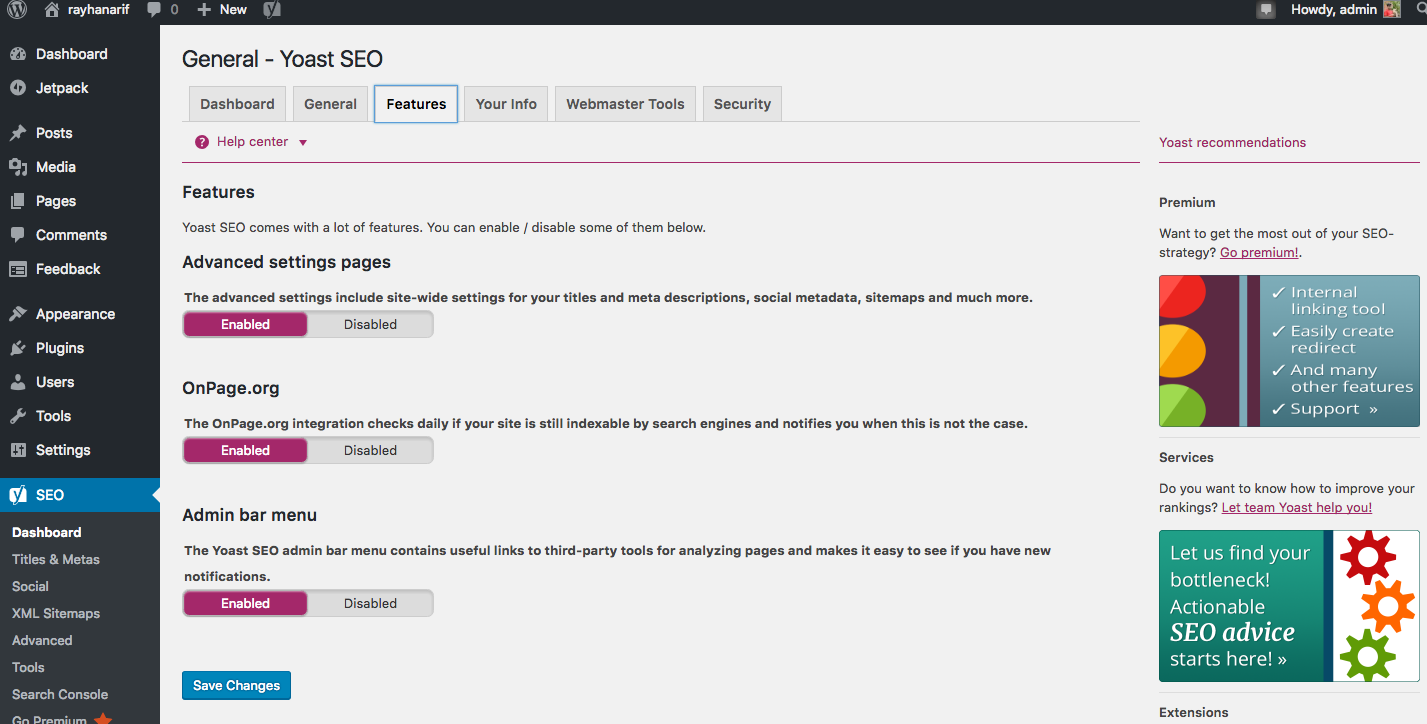
Click on the number or click next at the bottom to go to the next page and give required information.On the very next to General, you will find Features. Go to the Features tab and make changes as you need. You can enable or disable different features here.
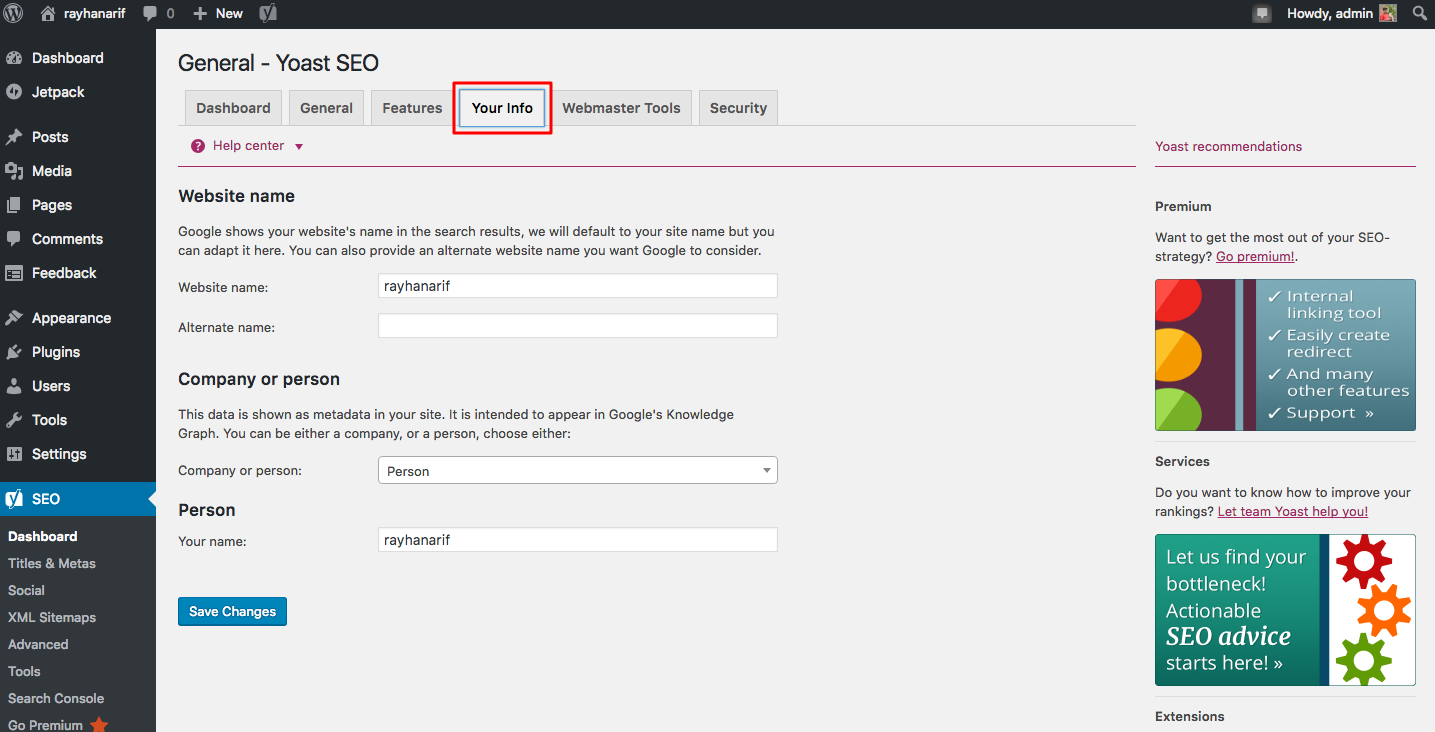
Yoast requires some of your information much like something you gave while configuring the plugin. Find the Your Info tab right next to Features in the Yoast Dashboard. Click on that and give the right information in the right place.
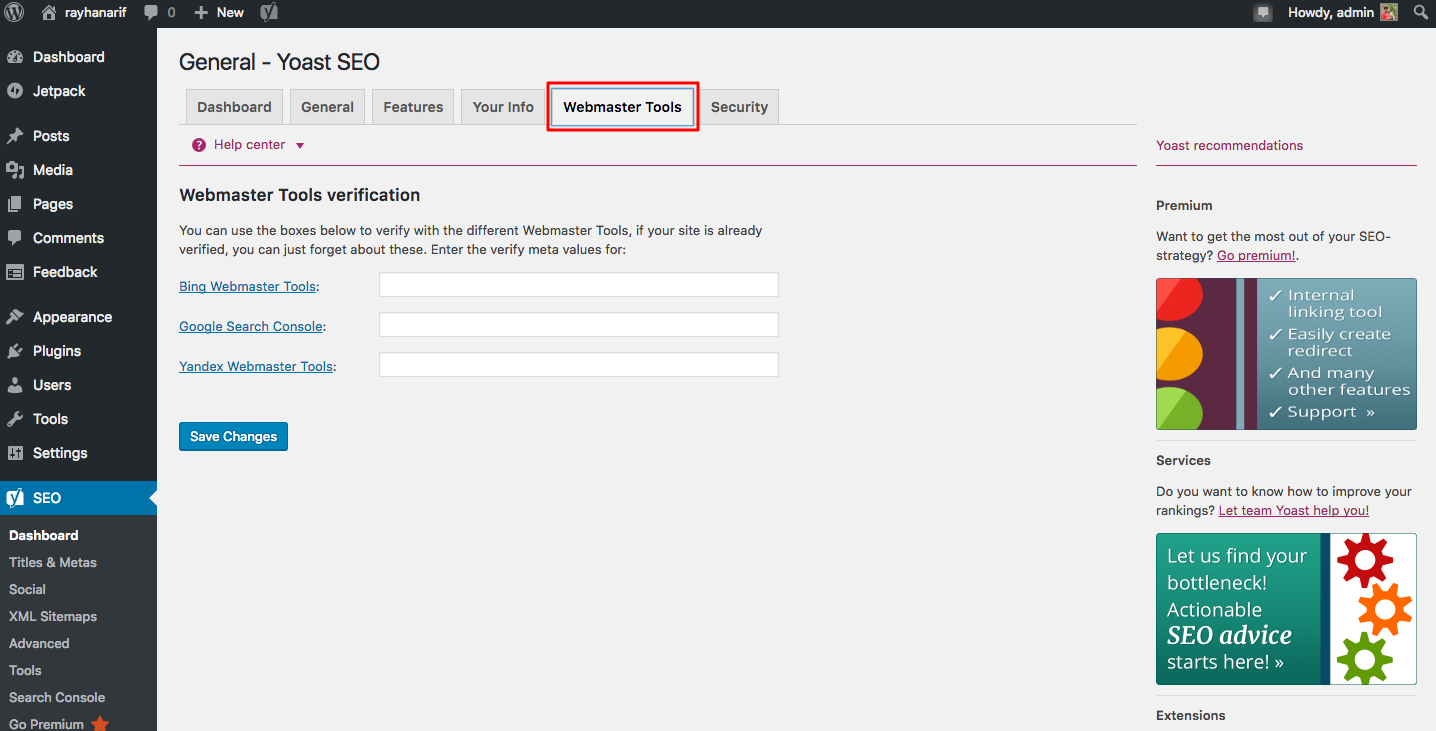
Since SEO is about search engines, Yoast lets you use Webmaster tools to bridge your site with search engines. To set these up, click the Webmaster tools tab and give appropriate values in the respective places.
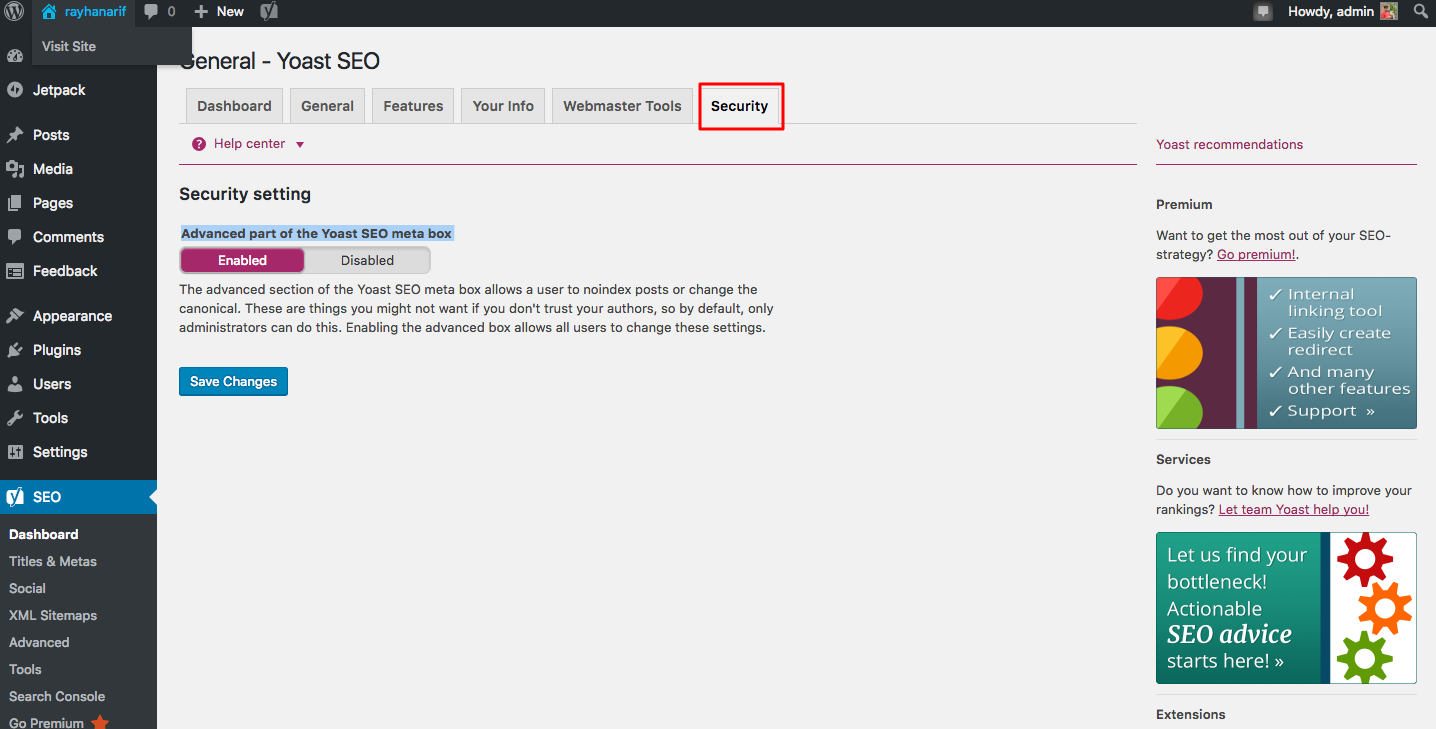
In the final part of Yoast setup, you have the option to enable or disable the Advanced section of the plugin. Click on the Security and do as you want. Note, the advanced part is ONLY recommended for the experienced users.
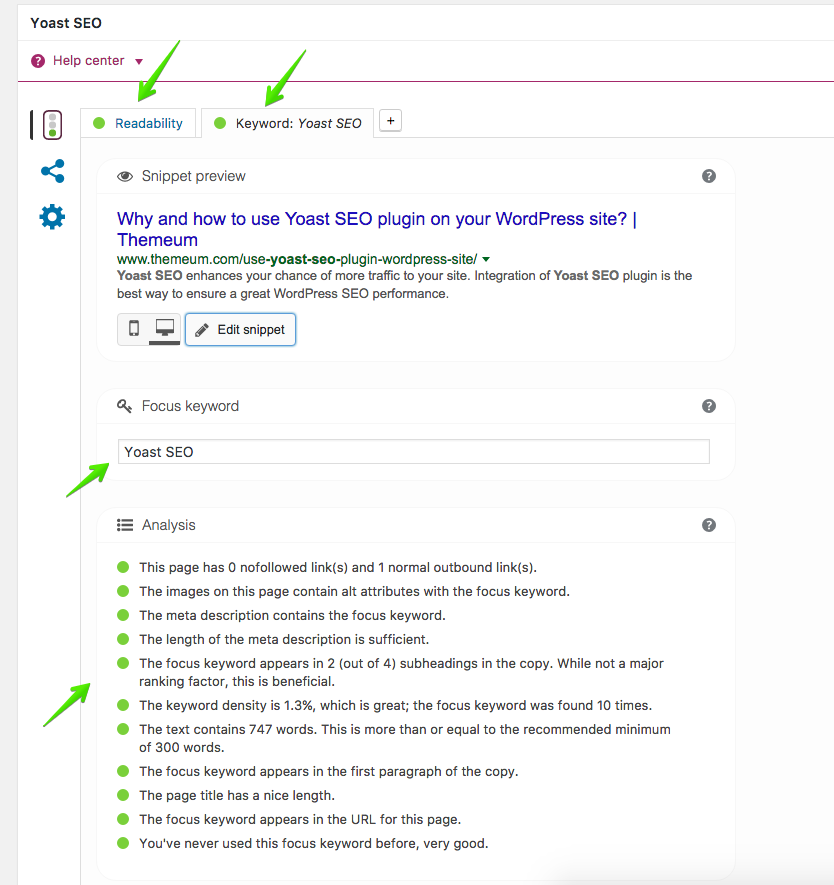
Yoast does a great job with your posts. It analyzes your content while you are writing/adding a post in order to publish. Right below the WordPress text editor box, you will find the Yoast SEO tools. Yoast checks the readability and suggests required modifications to your post. It also tells you about the suggested modification areas in a post. Yoast SEO plugin takes care of the focused keywords and checks the keyword density and placements. Adding meta descriptions according to different devices and checking the uses of keywords in them are also checked here.
Yoast SEO enhances your chance of more traffic to your site. Integration of Yoast SEO plugin is the best way to ensure a great WordPress SEO performance. Its functionalities and ease of uses would make you fall in love with it. Wish you a successful SEO in your site.