WP Crowdfunding is now Growfund — the new era of fundraising!
WP Crowdfunding is now Growfund!
WP Crowdfunding is now Growfund — the new era of fundraising!
WP Crowdfunding is now Growfund!
Looking to host an online meetup or event for your community? Then today’s article is for you.
If you want to host an event of any sort then you know it is quite impossible at times like this, as almost all events are being canceled due to the pandemic. But not everyone is giving up, and they are taking a different route. Some of the biggest events of the year are moving online as people are staying at home and maintaining social distancing. Online events are becoming the new normal. For example, all the NYC public schools will hold an online graduation ceremony for 2020, WordCamp USA 2020 is also moving completely online, and so on.
And with the easy configuration options in WordPress and its necessary add-ons, it is not that difficult to build an event site for yourself.
There are many benefits to having an online event site. Some of these benefits are obvious and others will surprise you for sure. Let’s look at the list below for a clearer picture,
So, let’s not wait anymore and get started with your own online event site.
Assuming that you already have your domain & hosting in order, and WordPress as your default choice of CMS, you will need some pre-requisite tools to start building your online event site.
If you want to learn more about these topics you can check out the below
? Best solution for your hosting
As for installing WordPress with your hosting storage, please check in with your hosting provider. Nowadays there is an easy WordPress installation available almost everywhere.
Note: If you are expecting a significant number of attendees for your event site, then it is better to go with a high-performing hosting solution.
Apart from your domain and hosting, you will need the below mentioned theme and plugins to start your online event site in no time.
Though there are multiple CMS out there for you to choose, sticking with WordPress gives you the flexibility you need. WordPress is also a free open-source CMS solution that is running on some of the most popular sites. So, you don’t have to worry about the security & scalability side.
Not all themes are made equal. Instead of opting for a multi-purpose theme, here we will suggest you go for a theme that is specifically made for event sites.
Click on the links below to check some of the amazing WordPress event themes.
? All Event Themes from Themeum

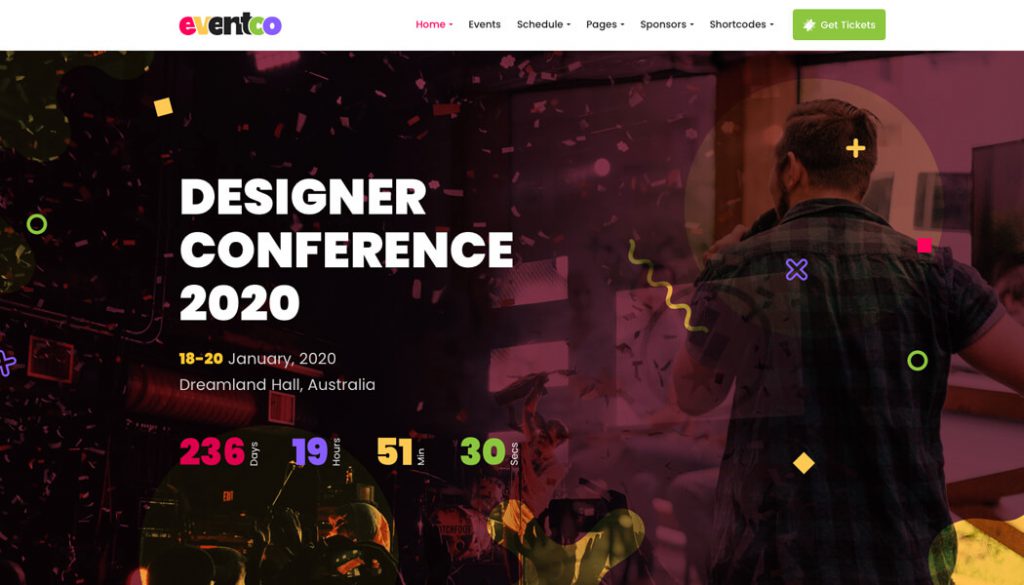
Themes like Eventco, Melody, Bride & Groom were built from the ground up to serve for this exact purpose. They provide you with the best event site-building experience. For this tutorial purpose, we will be using the Eventco theme.
The very first thing you will need to do after you have your WordPress site up & running is to install the theme. To install your theme, you will need to login to your WordPress admin dashboard. Once you are there, you will see the theme installation option in the Appearance section.
You can download your theme file from your Themeum dashboard. Once you have downloaded your theme file, unzip it to find the necessary upload files. In the unzipped folder you will find a file named “eventco-core.zip” in the plugins folder. Upload it to your WordPress site using the theme uploader function from the Appearance menu.

Once you are done uploading the theme file, now comes the part to install the necessary plugins. But don’t worry you won’t have to make a list to remember what to install. We have added a built-in plugin installer for your convenience.
We know it is hard to remember what plugins you will need to make the most out of your online event site. So, once you have installed the Eventco theme, use the plugin installer to install all the required plugins.
You will find the built-in plugin installer in the Appearance section in the WordPress dashboard. If you click on it, you will see a list of the plugins that you will need to get the most out of your event site. From here you will be able to install all the necessary plugins.

Now that you installed all the plugins, it is time to import the demo files to make your site look like a complete online event site.
Please note that the demo content is for testing purposes only!
When you installed all the necessary plugins, among them there was the Eventco demo importer plugin. It gives you an easy way to get your site up and going with customizable demo content importing option.

In your WordPress dashboard, you will find a One-Click Demo Install option from the Eventco demo importer plugin. When you click on it, you will find an option to import a demo with only the click of a button. Click on it to start the process. When the process is complete then you are ready to move on to the next step.
Note: The demo import process might take a few minutes, so you have to be a little patient. Once it is done, you will see a successful demo import notification.
Now that you have imported the demo, you will see how your online event site will look like. You can now see an overview of all the pages and content that will be shown on your site. Everything is customizable in this imported demo content.
P.S Again, please note that the demo content is for testing purposes only. As all imported contents are customizable you can change it to see what suits your needs.

This is how the frontend of your site will look, once you import the demo. You will see that it is really easy to create a professional event site with an easy step by step guide using WordPress & the necessary tools.

You can check out the full demo from here.

First, you need a YouTube account. Once you are logged in you will notice a button called “Go Live” on the top-right corner. If you click on it, you’ll be redirected to YouTube’s live stream setup. Give the live video a title and set it to Unlisted if you do not want people to find it without going to your website. You can also schedule for later if you’re setting it up beforehand (Always a good idea).

After clicking on “Create Stream” you will be able to change more of the stream settings. Copy the “Stream Key” into a protected document for your streaming app to use. Using Normal Latency is ideal for nearly all using cases, so that’s the perfect option. Enable DVR so visitors can seek/ pause / control the video.
Check out another article we did on how you can host an interactive live stream.

When you have started broadcasting using a streaming program such as OBS, you will see the Go Live option on YouTube Studio. There’ll be an option to share the link after you turn it on. Copy the URL and go to the page or post where you want this video to be viewed. Take a YouTube embed block and place the link there, and you’re done!

It is now time for you to build your own online event site. As you can see, the process is easy and is more flexible than the other options out there on the internet. It was done on purpose so that anyone looking to create one shouldn’t be faced with any complicated option. If you are interested in other Themeum event themes, you can check out this link.
Tell us what you think about this tutorial. If you have any questions, just start a conversation in the comments below and we will join right in. And if you want to see more easy tutorials like this, keep an eye on our blog.
